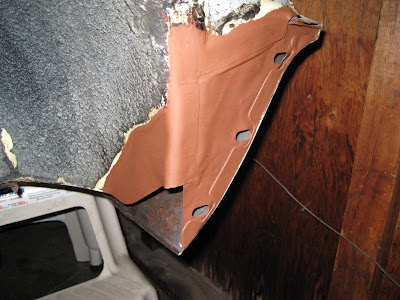
boot. The seam sealing and top coat were applied at same
time as the engine compartment.
The passenger side buffer area and lower inner wing
(fender) after a coat of rust killer was brushed on.

A shot of the drivers side.

Same area after two coats of primer were brushed on.

A closer shot showing the lower rear inner wing area.
The hole just to the left of center was originally used
to access the cartridge oil filter mounting bolt.

The passenger side after priming.

Again, a close up of the passenger side lower rear wing.
Note the area above the triangular and square panels
was also cleared and refinished. Removing the old
undercoat was extremely difficult and dirty for me, so I
treated those areas that had become loose. This was
mostly because of oil soaking.

At this time, I also primed the area along the top of the
inner wing, where the outer wing mates.

This is the very front of the inner wing where it attaches
to the front valence. At some point before I owned the
car it was hit here, you can still see some wrinkles in the
metal work.
Some time later in May, I seam sealed the buffer areas
Along with the engine bay.

A shot of the corner that had the rust issues.

The lower rear inner wing panels, now seam sealed.
Note the 4x4 timber, this is part of the frame removal
process, more on that later.

The drivers side sill and the problem corner area.

The upper section of the buffer area.

The driver side lower rear inner wing showing the end
cap of the sill.
This, for some reason is the only picture I could find
of the buffer after the top coat. This was sprayed on
along with the engine bay. I followed up later with a
thick coat of a rubberized undercoat.


No comments:
Post a Comment